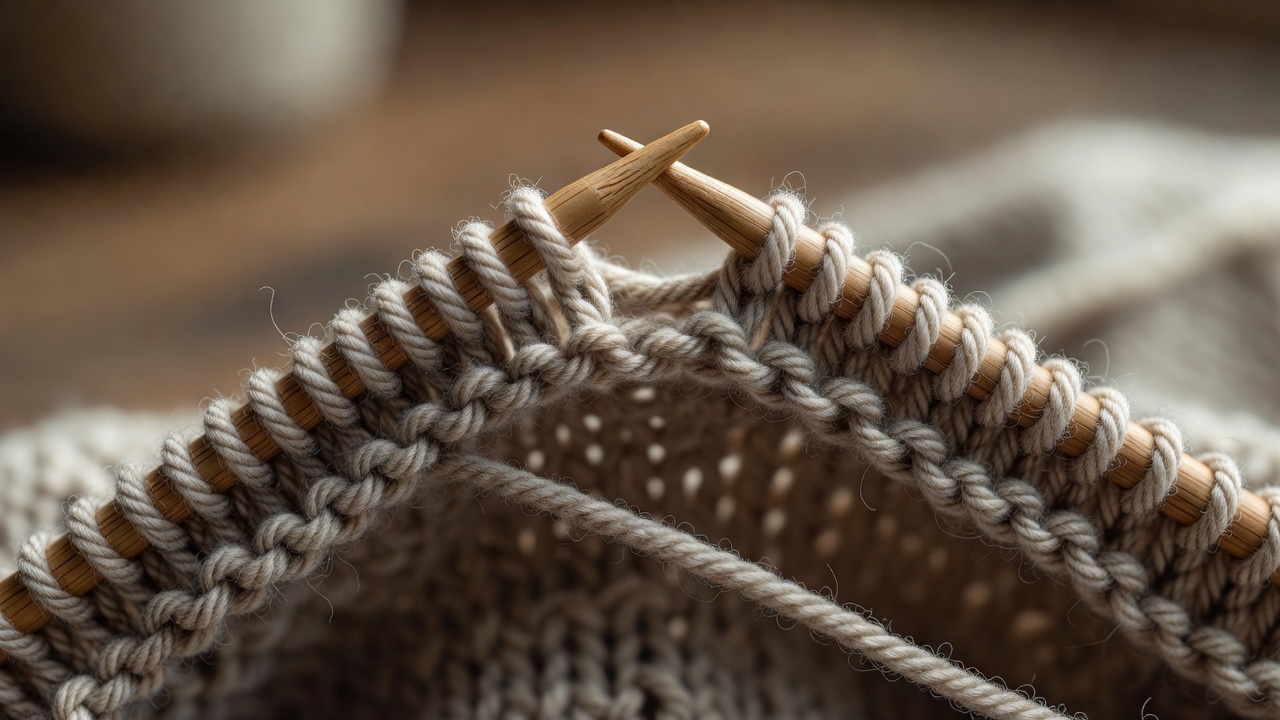
This instructional manual outlines the structural manipulation of yarn to produce a continuous, flexible textile. Knitting operates by drawing successive loops of material through previously established loops using rigid pins (needles). The instructions below detail the foundational long-tail cast-on, the standard knit stitch, and the secure bind-off.
Step 1: The Long-Tail Cast-On
The cast-on sequence establishes the primary row of loops on the needle. The long-tail method is structurally robust because it simultaneously creates a cast-on edge and knits the first operational row.
- Pull a length of yarn from the ball measuring approximately three times the intended final width of the textile. This loose segment is termed the tail.
- Form a slipknot exactly where the tail meets the working yarn connected to the ball. Insert one needle through the slipknot and pull the ends to tighten it securely onto the shaft.
- Hold the needle in your right hand. With your left hand, spread your thumb and index finger apart. Drape the tail over your thumb and the working yarn over your index finger. Grip the two loose strands beneath your remaining three fingers to maintain strict tension.
- Pivot the needle tip downward. Insert the tip upward through the loop formed on your thumb.
- Swing the needle over to the index finger. Catch the working yarn from the top and draw it backward through the thumb loop.
- Withdraw your thumb from the initial loop, allowing the structure to pull tight against the needle shaft. Reposition your thumb to re-tension the tail strand.
- Repeat the sequence until the exact designated number of stitches has been deposited onto the right needle.
Step 2: Forming the Knit Stitch
Once the foundation is established, material is accumulated vertically row by row. The knit stitch pulls the new loop of yarn through the old loop from the rear to the front, producing a flat V-shaped geometric structure on the face of the fabric.
- Transfer the needle holding the cast-on stitches to your left hand. Hold the empty needle in your right hand. Ensure the working yarn is positioned behind the work, away from your body.
- Insert the tip of the right needle into the first loop on the left needle. The insertion must travel upward, passing from the front of the loop toward the rear, resulting in the right needle crossing behind the left needle.
- Wrap the working yarn over the tip of the right needle. The yarn must travel counter-clockwise around the shaft.
- Pivot the tip of the right needle downward, drawing the wrapped loop of yarn through the center of the existing loop on the left needle.
- Once the new loop rests securely on the right needle, slide the original loop completely off the tip of the left needle. The old loop now forms the structural base for the new loop.
- Execute this five-part mechanical sequence for every stitch across the horizontal row. When the left needle is empty, transfer the full needle back to your left hand and commence the next row.
Step 3: Binding Off
If the final row is left on the needle, the loops remain active and will instantly unravel under tension. A bind-off sequence locks each loop horizontally to close the textile.
- Hold the work in your left hand as usual. Execute two standard knit stitches onto the right needle.
- Insert the tip of the left needle into the first stitch you knitted on the right needle (the stitch located furthest from the right needle's point).
- Lift this first stitch vertically over the second stitch and drop it completely off the needle tip. One stitch remains locked on the right needle.
- Knit one more standard stitch from the left needle, placing it onto the right needle. You now have two stitches on the right needle again.
- Lift the older stitch over the newer stitch and drop it off.
- Continue this sequence across the entire row until exactly one active loop remains on the right needle.
- Sever the working yarn, leaving a 15-centimeter tail. Pull the final active loop outward until the cut tail pops completely through, securing the terminal knot.
The structural integrity of the fabric is now permanent, provided the loose tail ends are woven back into the reverse side of the textile matrix using a blunt tapestry needle.