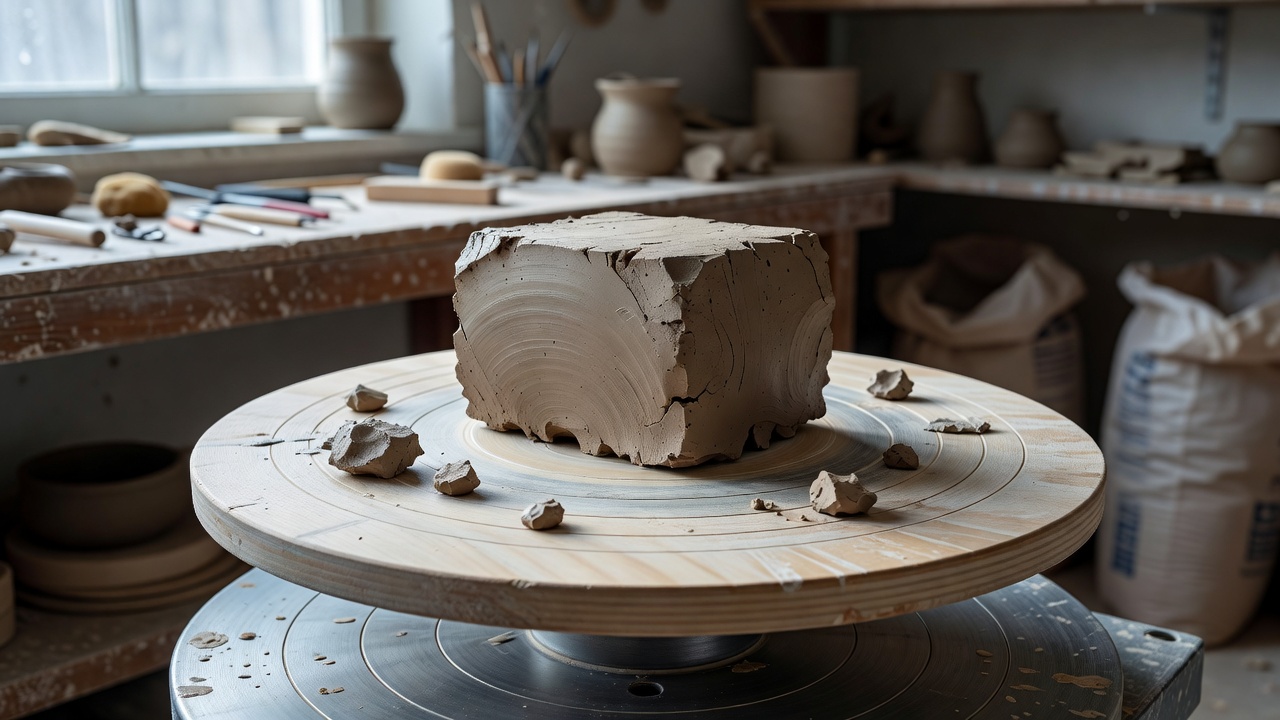
This instructional manual specifies the operations required to process raw clay into a cylindrical vessel using a potter’s wheel. Mechanical control and consistent pressure application are mandatory for executing these steps successfully. Failure to secure the clay mass will result in immediate structural collapse during rotation.
Step 1: Wedging the Material
Before clay is introduced to the wheel, it must undergo wedging. Wedging is a mechanical process designed to homogenize the moisture content and forcibly eject air pockets from the material matrix. An air pocket left within the mass will expand during firing and fracture the vessel.
- Deposit the pre-weighed mass of clay onto a porous plaster or canvas-covered bench top.
- Place both palms against the upper half of the clay mass. Push downward and forward simultaneously to compress the material.
- Lift the mass by the sides, rotate it backward by 90 degrees, and push downward again.
- Repeat this cyclical motion a minimum of fifty times. The material will take on a spiraled, shell-like geometry during the procedure.
- Once homogenization is achieved, pat the mass firmly into an equal sphere, ensuring no overlapping folds are visible on the surface.
Step 2: Securing and Centering
Centering is the critical operation of aligning the mass perfectly with the axis of the wheel head. If the clay oscillates off-axis, subsequent pulling operations will tear the walls.
- Ensure the wheel head or bat is slightly damp, but completely free of standing water.
- Throw the spherical mass firmly into the exact center of the stationary wheel head. The force of impact creates the initial adhesion.
- Engage the motor to bring the wheel to maximum rotational velocity.
- Apply a small volume of water to the exterior of the clay to reduce surface friction.
- Anchor your elbows firmly into your inner thighs or hip bones. This skeletal lock isolates your arms from the rotational force of the mass.
- Press the heel of your left hand horizontally against the side of the clay, forcing it inward toward the center axis. Simultaneously, rest your right hand on top of the mass, applying downward vertical pressure.
- Cone the clay by squeezing it upward into a tall pillar, then push it back down into a wide dome. Repeat this coning cycle three times until the mass revolves perfectly smooth beneath your palms, showing zero lateral oscillation.
Step 3: Opening the Mass
With the clay centered, you must excavate the interior volume. This step dictates the baseline width and base thickness of the final vessel.
- Decrease the wheel velocity to fifty percent of maximum.
- Support the exterior of the centered dome with your left hand.
- Position the middle and index fingers of your right hand exactly on the top dead center of the dome.
- Apply strict vertical downward pressure, driving your fingers toward the wheel head. Stop applying pressure when exactly 10 millimeters of clay remain between your fingertips and the bat. Check this depth by inserting a needle tool vertically through the base.
- Hook your fingers and pull horizontally toward your body, expanding the initial hole into a flat interior base of the required diameter.
Step 4: Pulling the Walls
The final phase involves vertically displacing the material to form the walls. This requires coordinated pressure from both the interior and exterior of the cylinder.
- Decrease the wheel velocity to thirty percent. Ensure the walls are adequately lubricated with water.
- Position the fingertips of your left hand inside the vessel, resting at the very bottom corner. Position a damp sponge held by your right hand on the exterior, directly opposite your internal fingers.
- Apply squeezing pressure between the interior fingers and the exterior sponge.
- Slowly lift both hands vertically, drawing the compressed material upward. The speed of the upward lift must remain perfectly synchronized with the rotational speed of the wheel.
- Release pressure gently as you reach the top rim. Repeat the pulling sequence three times until the walls reach the specified height and a uniform thickness of 5 millimeters.
Upon completion, undercut the base of the cylinder with a wooden modeling tool. Drag a twisted wire cutoff tool tightly across the wheel head to sever the vessel's adhesion, allowing for safe transfer to a drying board.