This manual dictates the mechanical procedures required for assembling vegetable-tanned leather components. The operations rely on precise physical modifications of the material surface prior to applying structural tension through a dual-needle saddle stitch. Synthetic leathers and chrome-tanned skins do not behave optimally under these specific physical tooling conditions.
Step 1: Edge Skiving and Preparation
When two layers of heavy leather intersect, the combined edge thickness must often be reduced to maintain a consistent profile. This reduction is achieved through skiving—the physical paring of the material’s flesh side.
- Place the leather face down on a hardened glass or polished marble surface. A yielding surface will cause the blade to dig inconsistently.
- Take a skiving knife honed to a razor edge. Hold the blade at a 15-degree angle to the surface of the leather, positioning the bevel flat against the material.
- Drive the blade forward in a continuous, smooth stroke, removing a wedge-shaped profile from the outer 10 millimeters of the edge.
- Inspect the skived edge. The reduction must taper evenly to zero thickness at the absolute perimeter.
- Apply a thin layer of water-based contact adhesive to the skived flesh sides of the two components. Wait ten minutes until the adhesive turns completely transparent and tacky to the touch.
- Align the edges and compress them firmly using a smooth-faced cobbler's hammer. This sets the bond prior to punching.
Step 2: Grooving and Hole Punching
Leather is not sewn by driving a needle directly through the material as in fabric tailoring. Instead, holes must be mechanically punched prior to threading to accept the structural cord.
- Deploy an edge groover. Set the guide precisely 3 millimeters from the cutting tip.
- Run the groover along the assembled edge, removing a continuous strip of the grain. This channel ensures the final thread lays flush with the surface, preventing abrasion failure over time.
- Place an awl or a diamond stitching chisel into the channel at one end. A diamond chisel cuts slanted perforations, which dictate the characteristic angled lay of the saddle stitch.
- Ensure the chisel shaft is perfectly perpendicular to the bench surface. Strike the handle squarely with a rawhide or polymer mallet. Do not use a steel hammer, as it will deform the tool steel.
- Remove the chisel by pulling straight upward. For the subsequent cut, place the first tine of the chisel into the final hole of the previous sequence. This ensures perfectly uniform spacing across the entire run.
Step 3: The Saddle Stitch
The saddle stitch utilizes a single length of waxed linen or synthetic thread and two blunt harness needles. Unlike a machine lockstitch, a severed saddle stitch will not unravel under load.
- Measure a length of thread equal to four times the length of the seam to be stitched. Thread a harness needle onto each end of the cord and pierce the thread back through itself to lock it securely onto the needle eye.
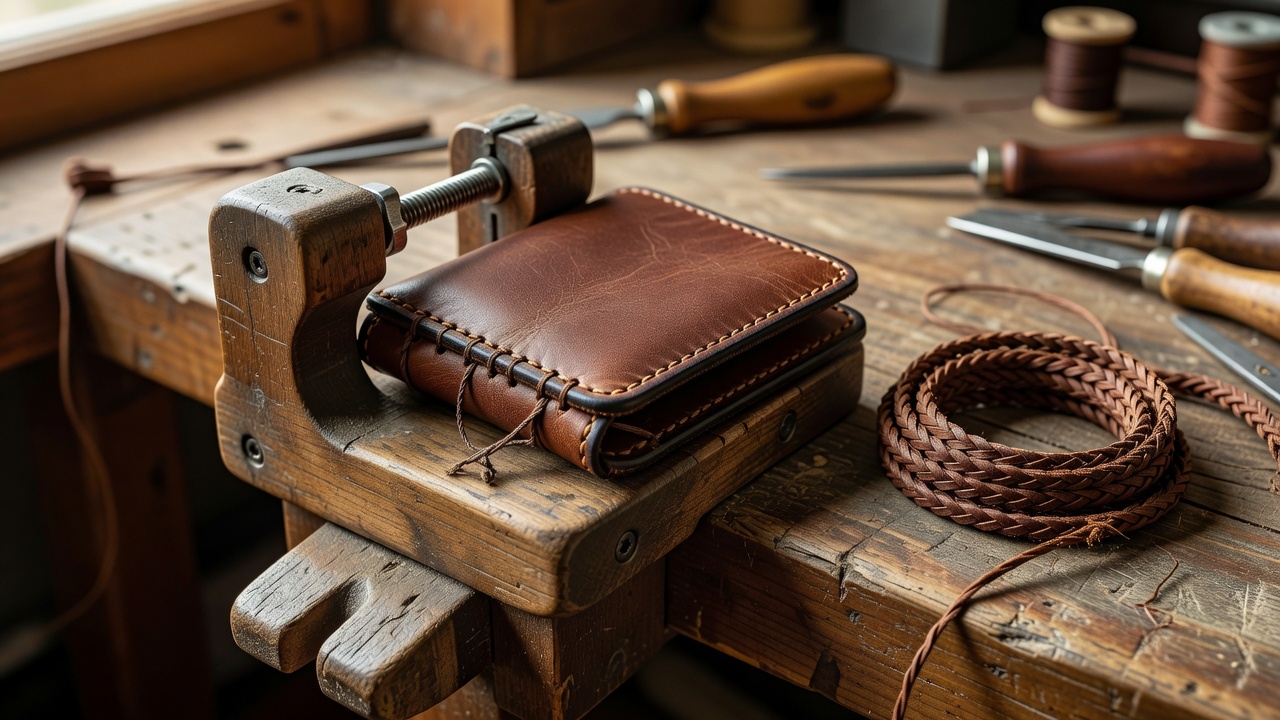
- Secure the glued and punched leather assembly in a stitching pony—a wooden clamp that holds the piece vertically, freeing both hands.
- Pass one needle through the first hole and pull the thread until an equal length hangs on both the left and right sides of the work.
- Insert the left needle into the second hole and push it completely through to the right side.
- Take the right needle and insert it into the same second hole, pushing it through to the left side. Ensure the needles cross each other uniformly and do not pierce the opposing thread within the hole.
- Grasp both threads and pull them simultaneously away from the leather, applying equal horizontal tension to lock the stitch tightly into the grooved channel.
- Repeat this crossing and tensioning sequence for every subsequent hole. The thread must cross in exactly the same vertical orientation (e.g., right thread always passes above left) to maintain the angled visual pattern.
- Upon reaching the final hole, execute three stitches backward over the existing line, snip the threads close to the surface, and melt the synthetic ends flat with a heat source.
Proceed to burnish the raw edges by applying water or a tragacanth gum compound, rubbing vigorously with a wooden slicker until the friction binds the fibers into a polished, sealed edge.