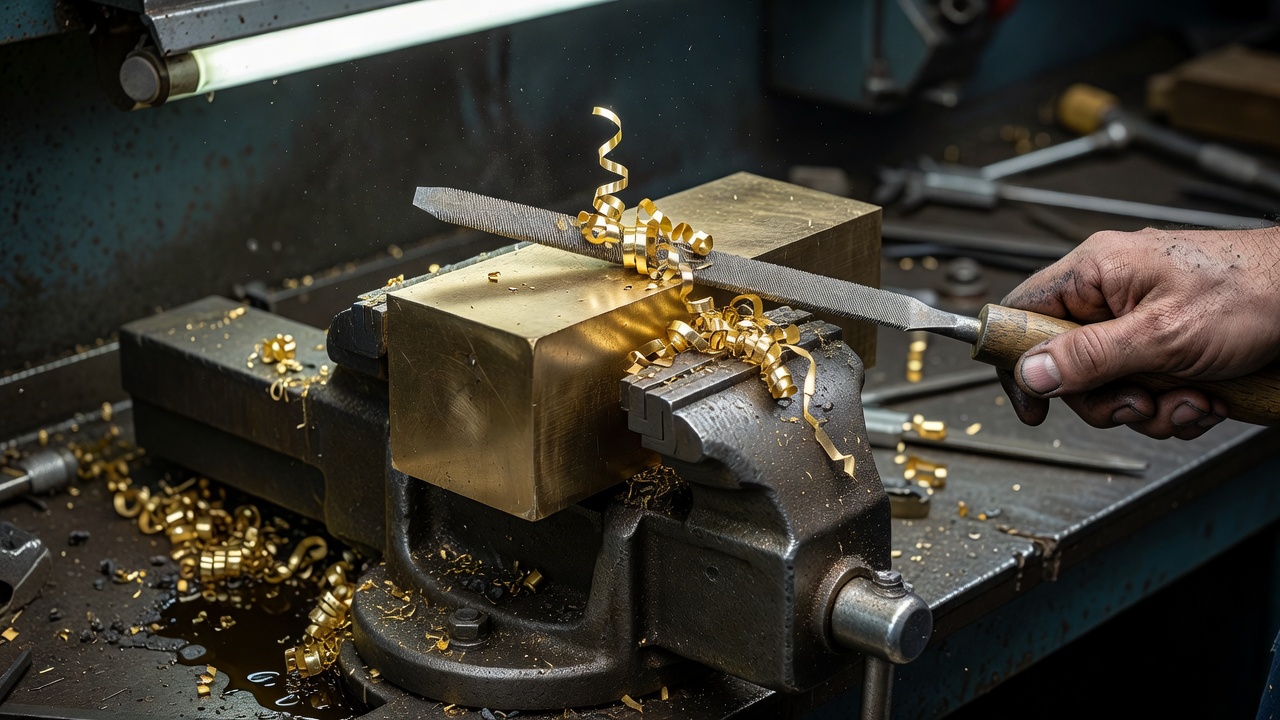
This manual details the cold working procedures for dimensioning and finishing non-ferrous metals, specifically brass and aluminum alloys. Unlike woodworking, material removal in metallurgy relies on aggressive abrasive shearing actions. Accurate layout and strict control over the cutting tools are mandatory to avoid catastrophic damage to the workpiece.
Step 1: Layout and Scribing
Precision metalwork demands high-contrast visible guidelines. Graphite pencils fail on polished surfaces; therefore, chemical layout fluid must be deployed to provide a temporary canvas for scribed measurements.
- Degrease the entire surface of the brass workpiece using acetone or isopropyl alcohol. Any residual oil will repel the layout fluid.
- Brush a thin, even coat of blue layout fluid across the target face. Allow it to evaporate for three minutes until dry to the touch.
- Utilize a machinist square and a hardened steel scribe to trace your dimensions. Drag the scribe firmly over the fluid to scratch a sharp, silver line exposing the raw brass beneath.
- If drilling is required, locate the exact intersecting lines. Place a center punch vertically on the crosshair and strike it once with a ball-peen hammer to create a conical divot. This prevents the drill bit from wandering upon initial contact.
Step 2: Hacksaw Operation
Primary bulk material removal is executed with a high-tension hacksaw. The teeth of a metal-cutting blade are oriented to cut on the push stroke only.
- Clamp the workpiece rigidly in a machinist vise. The scribe line should sit exactly 2 millimeters clear of the vise jaws to prevent the saw from damaging the hardened steel jaws.
- Select a blade pitch appropriate for the material thickness. A standard 24 TPI (teeth per inch) blade is suitable for general brass stock.
- Grip the saw handle with your dominant hand and the front frame curve with your non-dominant hand. Rest the blade on the waste side of the scribe line.
- Pull the saw backward gently to create an initial notch.
- Push the saw forward using full-body leverage. Apply downward pressure only on the forward stroke. Lift the blade fractionally on the return stroke to prevent dulling the teeth against the kerf.
- Maintain a steady rhythm of one stroke per second. Excessive speed generates heat, which can bind the blade and warp the metal.
Step 3: Precision Filing
Once the bulk waste is removed, a file is used to bring the edge squarely down to the scribed layout line. Filing requires strict planar control to avoid creating a convex, rounded edge.
- Select a double-cut bastard file for rapid material removal. Clean the teeth using a wire file card before commencing.
- Grip the handle securely and place the palm of your off-hand on the tip of the file.
- Position the file flat across the cut edge. Push forward with equal downward pressure applied by both hands. The file must travel perfectly horizontally; any dipping motion at the beginning or end of the stroke will ruin the square profile.
- As you approach the scribe line, switch to a single-cut smooth file.
- Execute a technique known as draw filing: hold the file perpendicular to the workpiece, grasping the file at both ends, and pull it smoothly across the metal to produce a uniform, highly parallel finish.
Step 4: Abrasive Polishing
Filing leaves microscopic mechanical ridges in the metal surface. These are removed by progressing through sequentially finer grits of silicon carbide abrasive paper.
- Wrap a sheet of 400-grit abrasive paper tightly around a rigid steel backing block. A soft block will round over crisp corners.
- Lubricate the metal surface with a lightweight cutting oil. This floats the swarf away and prevents the paper from clogging.
- Sand the surface in a single, linear direction until all previous file marks are completely eradicated and replaced by uniform 400-grit scratches.
- Clean the surface, switch to 800-grit paper, and sand at exactly a 90-degree angle to the previous direction. This cross-hatching technique immediately visually highlights any deep scratches left over from the coarser grit.
- Continue the progression up to 2000-grit, finishing with a buffing wheel charged with jeweler's rouge for a mirror finish.