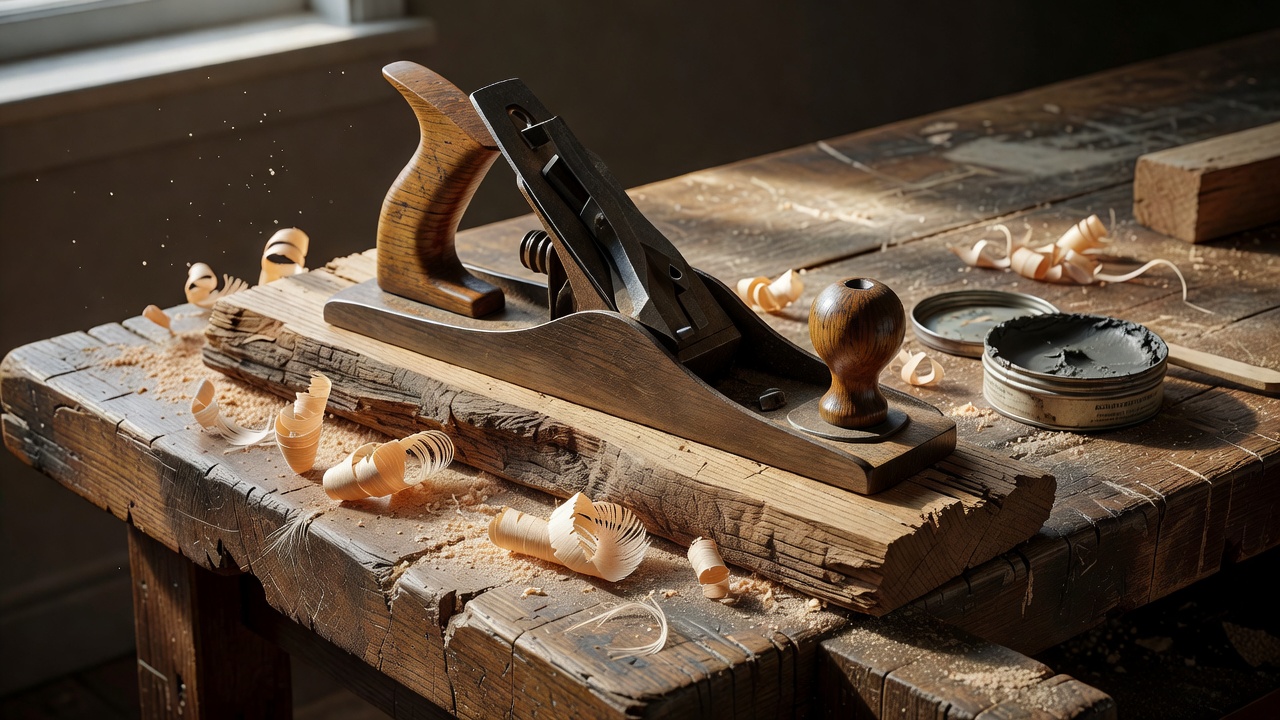
This instructional manual outlines the correct procedure for preparing rough timber into dimensional stock using hand tools. The objective of this process is to establish true flat surfaces that intersect at exact 90-degree angles. All subsequent marking and joint cutting operations depend entirely on the accuracy of these initial reference faces.
Step 1: Establishing the Reference Face
Before any joint is cut, you must establish a reference face—commonly referred to in standard practice as the face side. This is the single flat plane from which all other measurements will originate. Do not attempt to dimension the board until this initial surface is verified flat.
- Place the rough timber flat on the workbench and secure it laterally between the bench dogs to prevent movement.
- Set a jack plane for a medium shaving depth. Grasp the rear tote with your dominant hand and the front knob with your non-dominant hand.
- Traverse the board diagonally. The goal of diagonal planing is to remove twist across the wider dimension of the board.
- Deploy winding sticks—two perfectly straight lengths of contrasting wood. Place one stick at the far end of the board and the second stick at the near end.
- Lower your eye level and sight across the top edges of the winding sticks. If the top edges are not parallel, the board contains a twist. Note which corners are elevated.
- Plane only the high corners identified by the winding sticks until both sticks align perfectly parallel.
- Once the board is flat, mark this surface with a continuous looped pencil mark pointing toward your intended adjacent edge. This mark ensures you do not lose your primary orientation.
Step 2: Squaring the Face Edge
With the primary reference face established, the next operation requires creating an adjacent edge that is perfectly perpendicular to the reference face. This edge is termed the face edge.
- Rotate the timber 90 degrees and secure it upright in the bench vise. Ensure the newly flattened face side is facing toward you.
- Take a try square. Hold the stock (the thick handle) firmly against the flat face side and slide the blade down to contact the edge. Assess for gaps indicating an uneven edge.
- Using a longer jointer plane, take continuous passes along the length of the edge. Ensure downward pressure is biased toward the high side to bring the edge into square.
- Check frequently with the try square. When no light passes beneath the blade of the square, the edge is true.
- Apply a V-shaped pencil mark on this edge, with the point of the V touching the looped mark on the face side. These two surfaces are now locked as your sole measurement references.
Step 3: Gauging Thickness and Width
You now possess two true, perpendicular surfaces. The final operational sequence involves transferring dimensions to the opposing rough surfaces to achieve final thickness and width.
- Take a marking gauge. Set the pin to the required final thickness of the board.
- Register the block of the marking gauge strictly against the face side. Scribe a continuous line along all four edges of the board.
- Secure the timber back between the bench dogs, rough face up. Plane the material down until the scribed line is split in half by the plane iron.
- Adjust the marking gauge to the final required width. Register the block against the face edge and scribe a line along both the face side and the newly planed opposite face.
- Secure the board in the vise. If the waste material exceeds 10 millimeters, remove it with a rip saw cutting parallel to the scribed line. If less, remove the waste using the jack plane.
- Finish the final edge with the jointer plane until the scribed width line is precisely met.
Following these procedures ensures the timber is perfectly rectilinear, enabling tight tolerances for dovetails, mortise and tenons, and all structural joinery operations that follow.